Trimming Junipers during the growing season

Pinching is removing the new extension growth. Maybe for purposes of clarity, we can call it cutting or trimming. While terminology is important, the technique is really what matters.

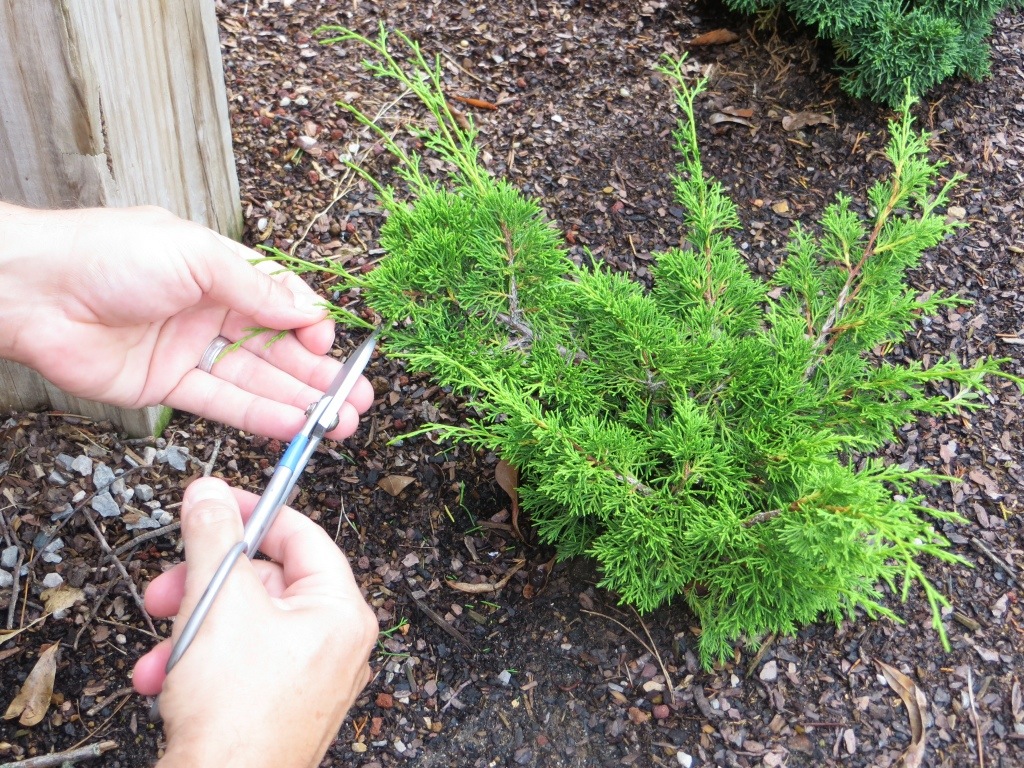
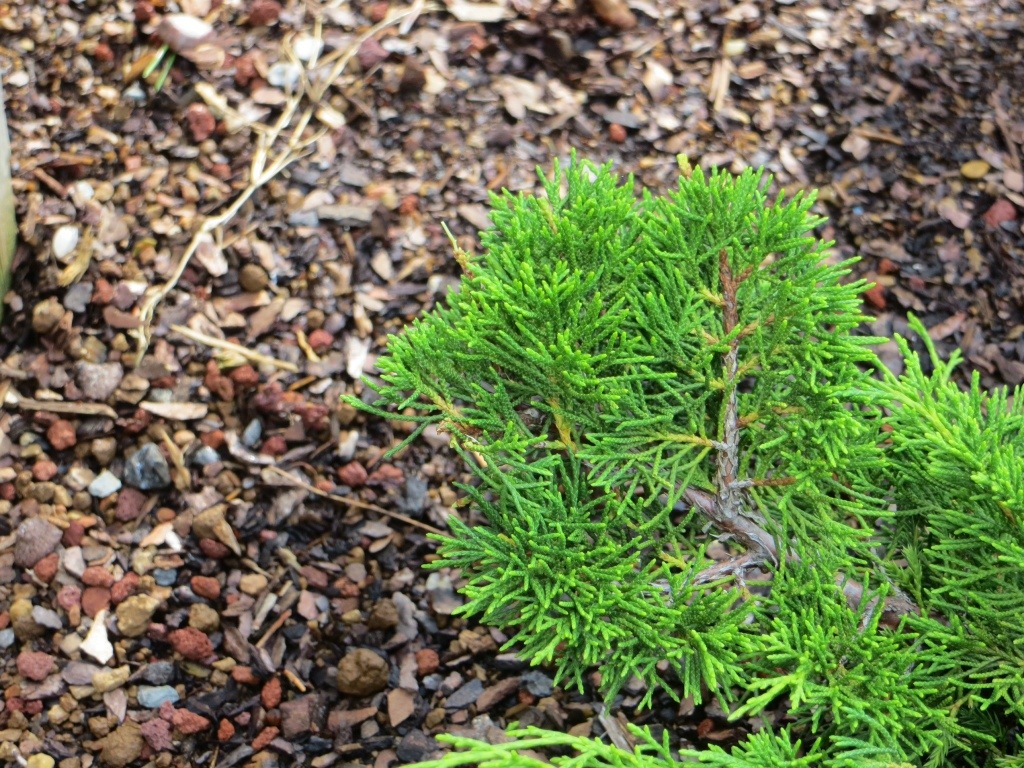
Pinching a juniper’s foliage using a “Grip And Rip” method is how I was taught to handle new growth on a juniper…nearly 20 years ago. It is now accepted (more likely, now properly translated) that junipers are “pinched”, we’ll say trimmed, by removing only the extending growth with scissors rather than shearing off all the growing tips like a Cost-Cutters trainee haircut. So using this Itoigawa as an example…
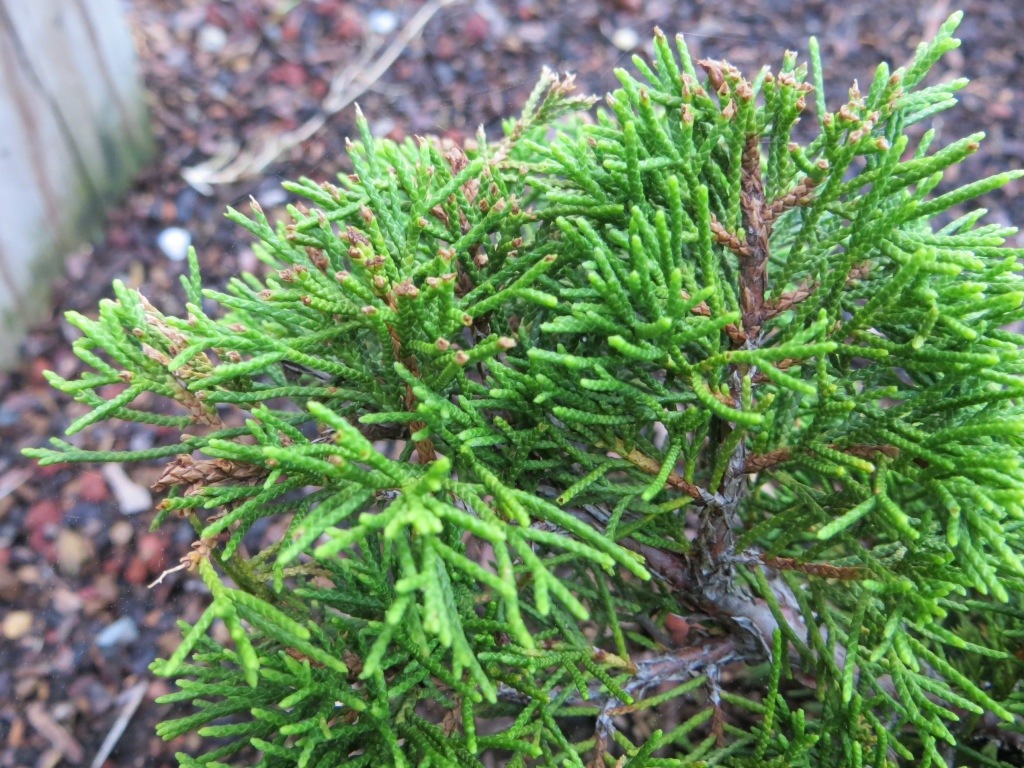
DO THIS:

20130705-081714.jpg

20130705-081743.jpg

20130705-081800.jpg

NOT THIS:

20130705-081859.jpg

20130705-081930.jpg

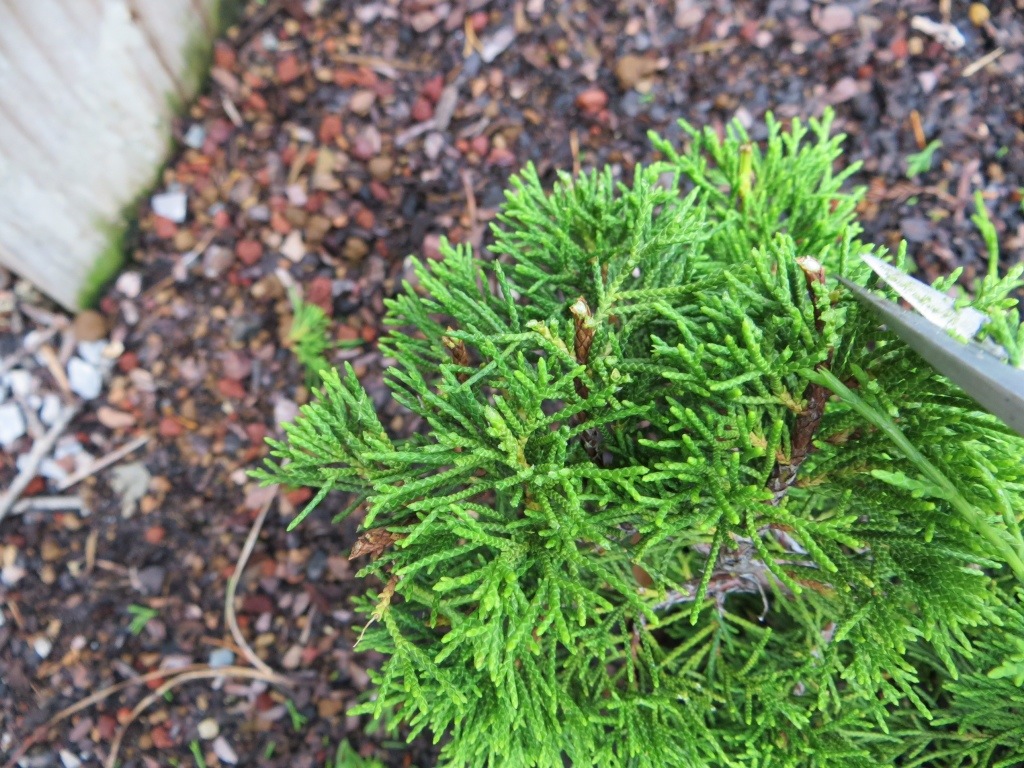
AND DEFINITELY NOT THIS:

20130705-084306.jpg

20130705-084323.jpg

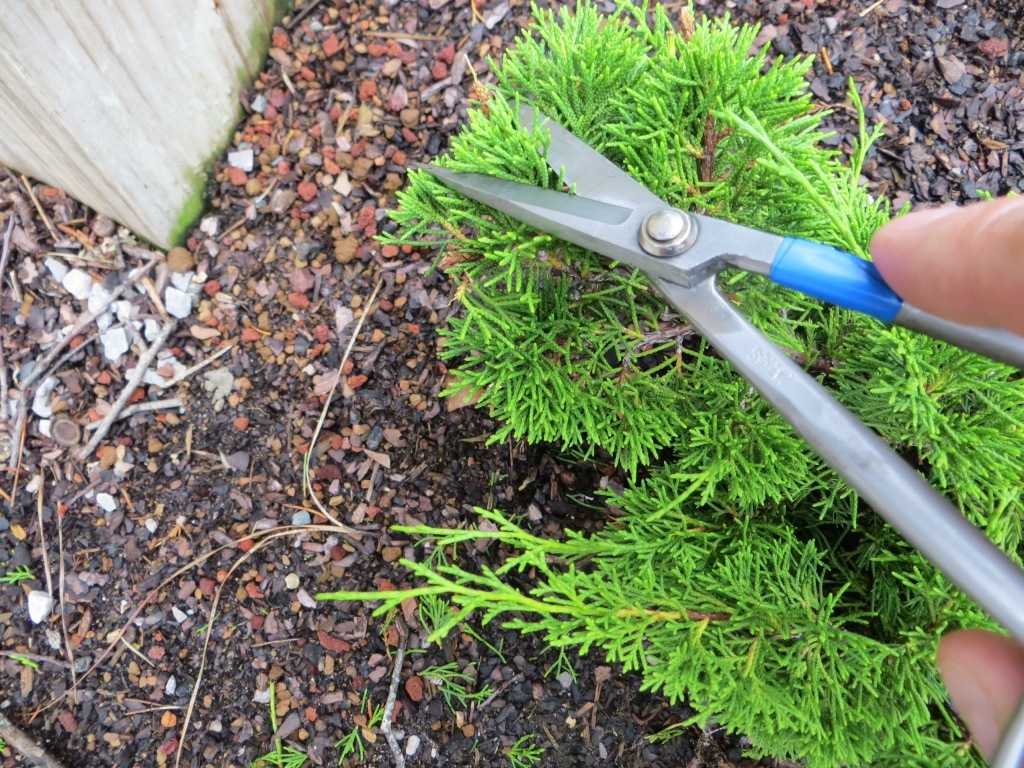
What’s the difference? Every tip of foliage is a growing tip. The accepted technique leaves more growing tips intact, and balances the strength by only removing the strongest. The “grip and rip” technique removes all the growing tips in that area.

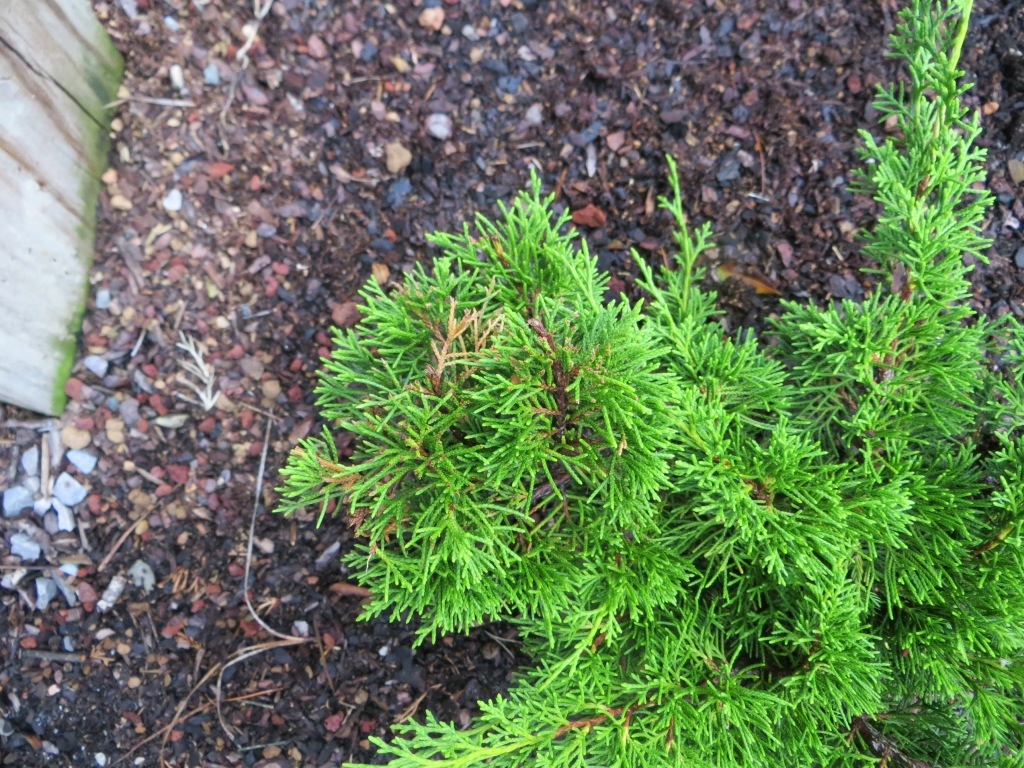
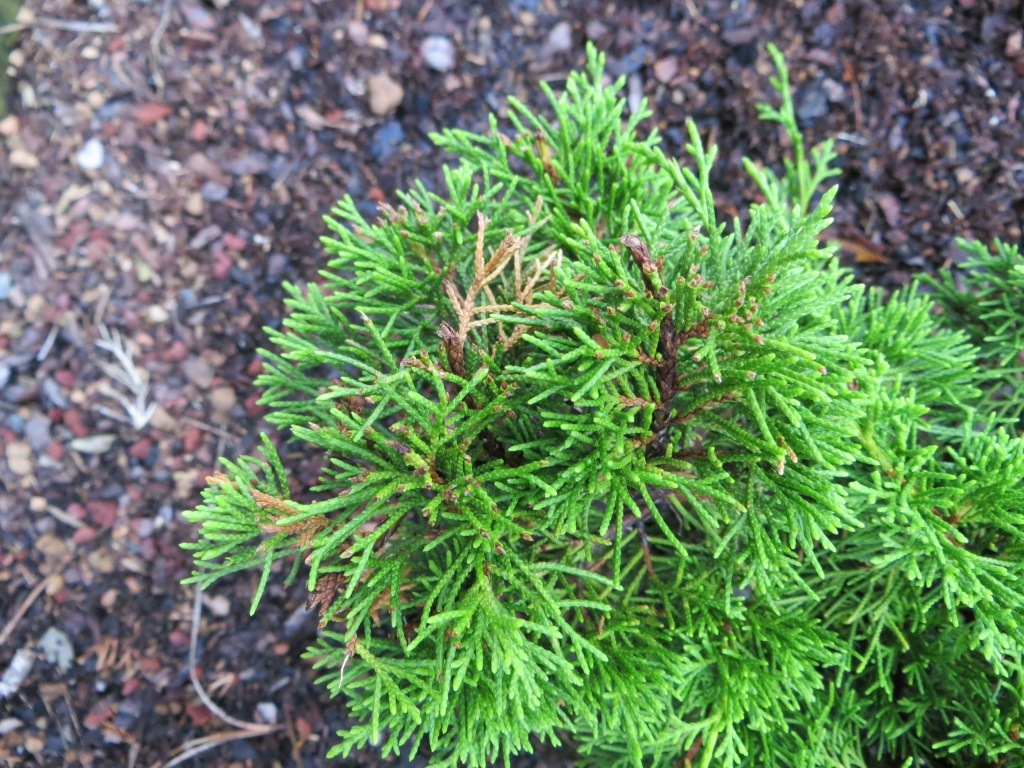
After a few days, sheared areas look like this:

20130708-162155.jpg
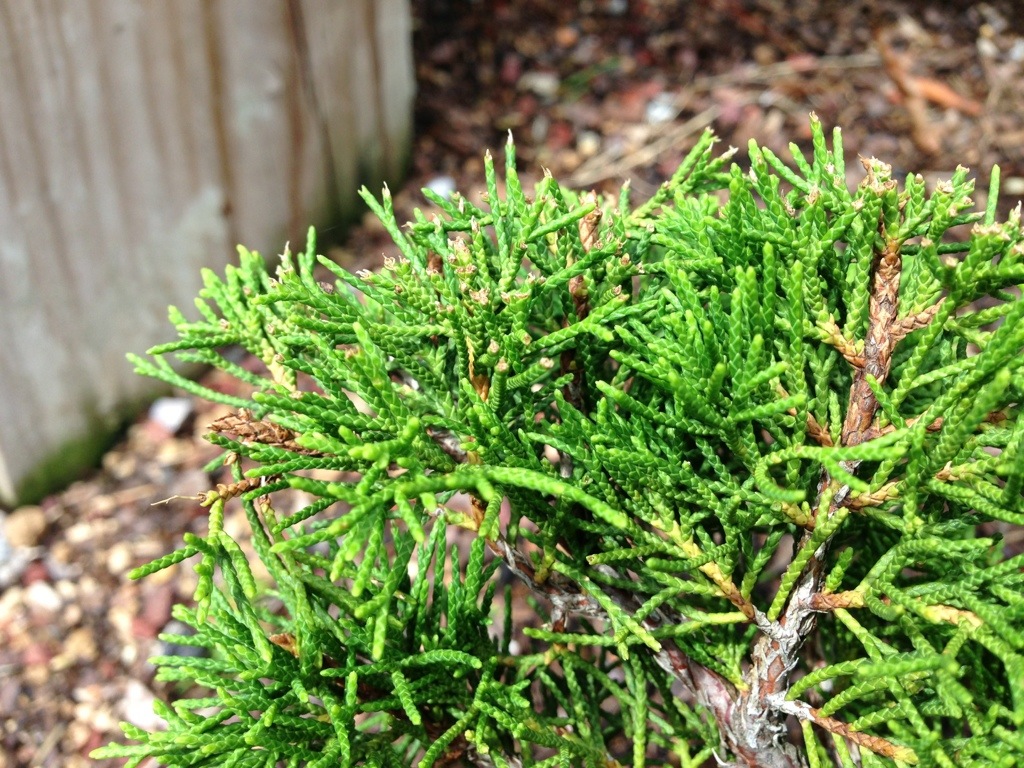
And after a week, even worse:

20130720-174113.jpg
And 2 weeks later, brown tips and die-back:

20130725-070558.jpg

20130725-070614.jpg

20130725-070636.jpg
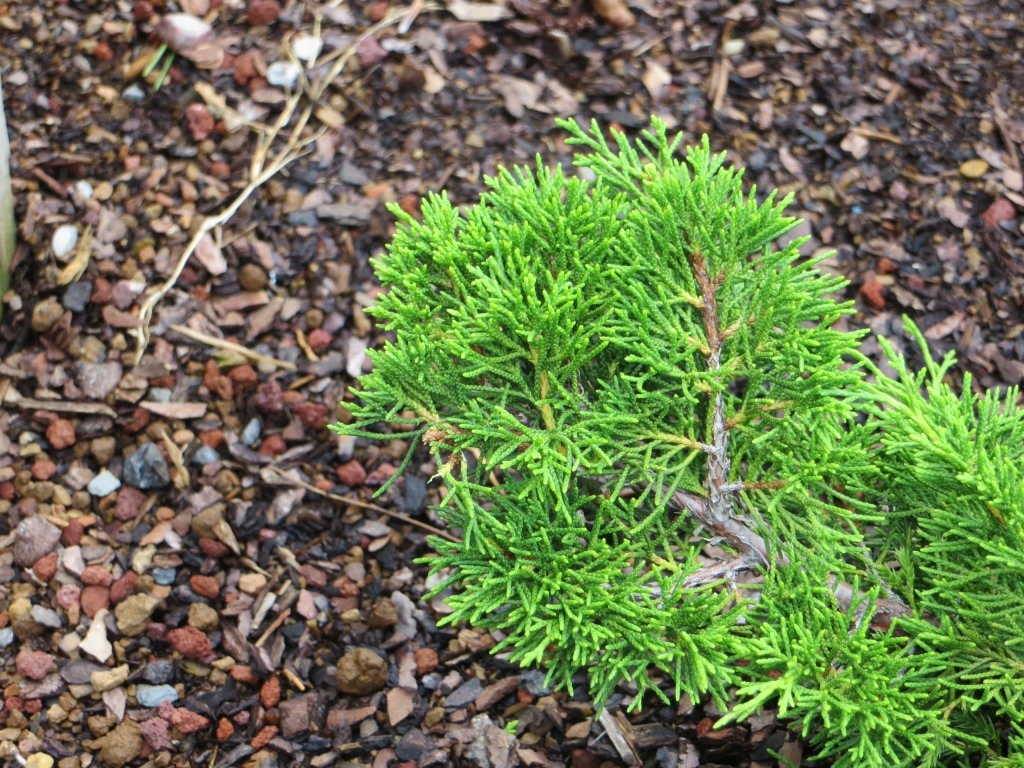
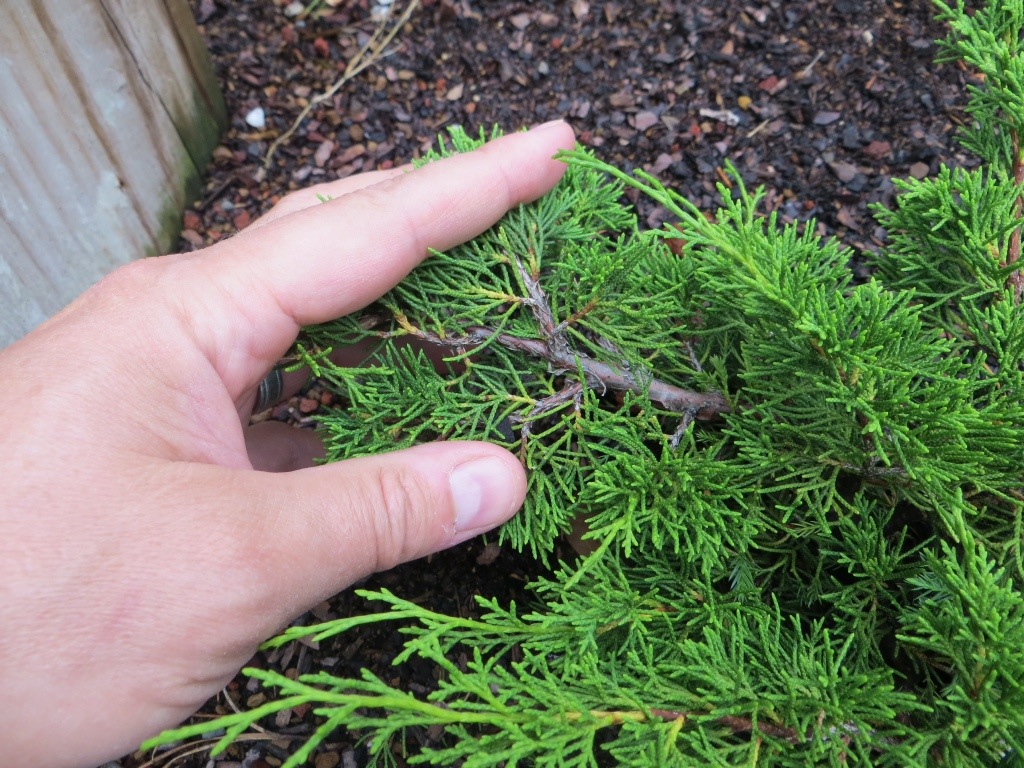
While we’re on the subject, one of the many great characteristics of Itoigawa junipers is their tendency to grow in an alternating branch pattern. This makes pruning and wiring easier. Notice how the branchlets are emerging alternately from the main branch?

20130705-090006.jpg

This Itoigawa is one of a dozen or so cuttings made in ’11, and they’re doing well. I’m experimenting with growth rates in the ground vs. in cans, so more on that down the road. Right now, the kishus (top two) are growing faster than the itoigawas (bottom 3…right one is 1-year old). Both were about the same size when planted (+/- 4″ pot size), but the kishus had more roots.

20130709-204025.jpg
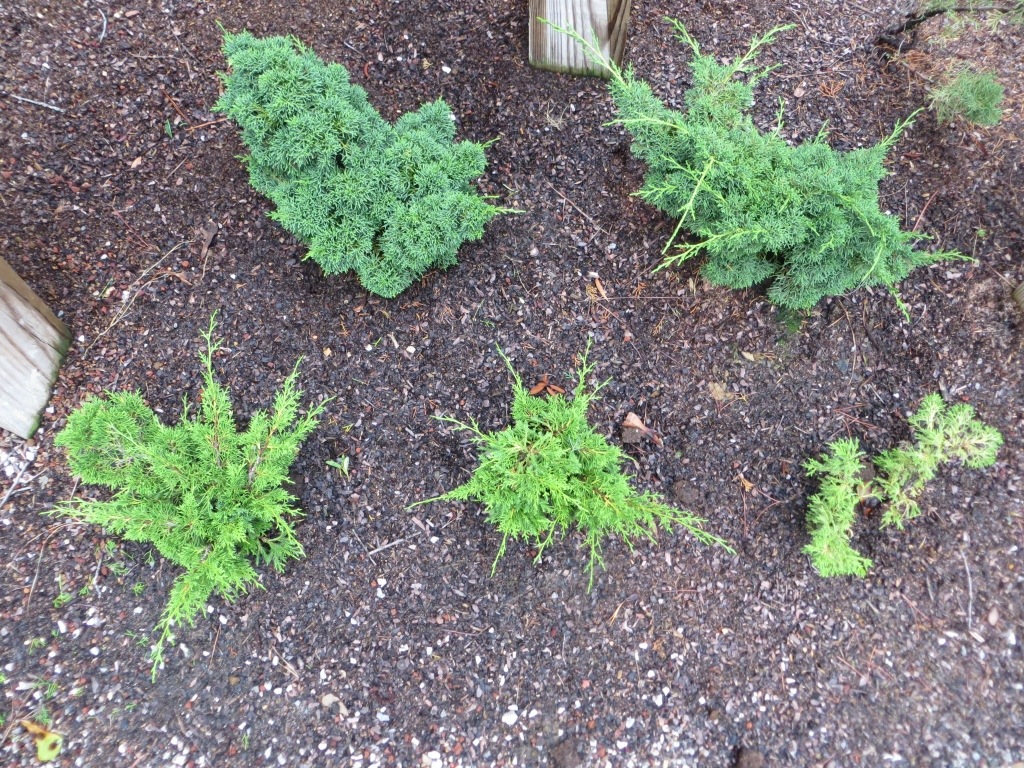
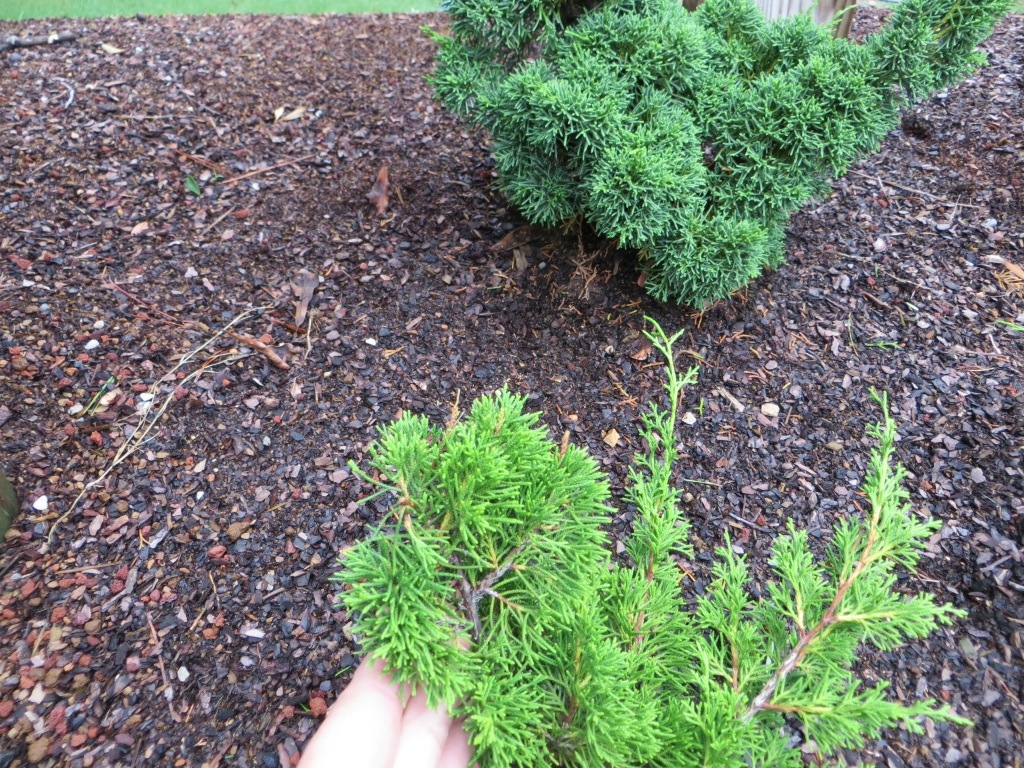
The foliage difference is stark:

20130709-204124.jpg

Here’s the parent tree, before and after a little trim. I think I like the rounded profile a bit better…what say you?

20130726-212240.jpg

20130726-212257.jpg
Itoigawa good! Next week, some heavy pruning on a larger shimpaku, in preparation for its first styling. Thanks for reading.

Candle-cutting complete

Finally, pruning the remaining candles from this spring’s growth: the strongest shoots in the crown.
Before (14 days after medium zone was decandled):

20130722-071354.jpg
After remaining strong zone was decandled:

20130722-071513.jpg
New buds starting to break in the weakest zone, 21 days after the candles were cut:

20130722-071816.jpg
Now we have about 100 days until the first frost, just enough time for new candles to grow, open, and set buds for next year! We’ll revisit the growth rate comparisons between “3-stage” and “all-at-once” candle-cutting later this fall.

It will need to be unwired and rewired, and I’m eager to get a look at the (intentional) break made to move that first right branch down. The guy-wire and raffia will have been in place for 2 years by this fall. Should be a good winter project.

To recap, July 1, before:

20130722-072715.jpg
July 1, after cutting candles in weak zones:

20130722-072814.jpg
July 8, after cutting candles in medium zones:

20130722-072854.jpg
July 22, after cutting candles in strong zones:

20130722-072942.jpg
Thanks for reading. This Saturday, we’ll take a look at trimming junipers during the growing season, and next Saturday, pruning a larger shimpaku.

Old yellow

I’ve been half heartedly looking for a yellow pot to eventually use with my Chinese quince. Yellow pots are tricky, like green, they don’t photograph predictably true. They’re not very common, and new ones, with a few exceptions, look pretty loud until some patina develops and quiets them down a little.

This one has cloud feet, and is a well-aged yellow, 40-60 years of age. it is 29.3 cm × 23.7 cm × 7.9 cm. Since the glaze is applied to the sign and seal, it was not identified. Our Japanese Bonsai Pots friend took a look at it when he visited a few months ago and helped shed some more light on it. From what he could see, it is either Chinese, “Shu Hozan”, or Japanese by Amane Hiroshi.

20130210-203658.jpg

20130210-203710.jpg

20130210-203724.jpg

20130210-203738.jpg

20130708-093648.jpg

20130708-093701.jpg
Recently I saw this blue one for sale, and was struck by how closely the shape, size, and clay body resembled the yellow. This one is HoSetsuDoJin, one of the famous old “Kinyo” kilns. Old kilns called “Kinyo” produced blue glazed pots that became so popular the color started to be called Kinyo…from Ryan Bell.

20130402-205755.jpg

20130402-205803.jpg
Although similar, the blue one sold for 10x what I paid for the yellow one above.

What looks best in a yellow pot? Think adjacent colors (colors on either side of yellow on the color wheel); red berries of an ilex serrata or crab apple, or salmon flowers of an azalea, deep greens of an broadleaf evergreen. Or, try repeating colors of a yellow quince fruits, or trees shown in their yellow/orange fall colors.

20130618-063601.jpg
An aside, here are a few other yellows from the search…

20-30 year old Chinese:

20130210-203844.jpg

The Yamaaki that started it all for me:

20130528-210234.jpg

20130528-210245.jpg

A Chinese quince planted in an old yellow pot from Peter Tea’s post from the Taikan-ten. Maybe one of my favorite D-trees…

20130402-211036.jpg

A couple more examples, Shunka Shozan (check out the post on his works here):

20130402-213421.jpg

20130402-213432.jpg
And a few Aiba Koyos from the Tokoname catalog:

20130210-205543.jpg

20130210-205552.jpg

20130210-205616.jpg

20130402-213329.jpg

What do you think? Definitely bold, likely an acquired taste. I’d like to see more of them used out there!