
Here is a quick flashback on this juniper that I’ve been working on with Kathy Shaner, each March for the last 3 years. This year, we worked on the maple and didn’t touch this shimpaku. I like where she’s taken it, and have started to develop my own vision, so I didn’t push the issue…
In ’09

In ’10

In ’11

In ’12

In ’13…before:

In ’13 after working with Bjorn:

So, what did we do? Basically we continued to compact the design.
We Reduced the first left branch; one that Kathy and I had split to “roll” the top half closer to the trunk. The bottom part was originally kept as a contingency plan. Since the top half was healthy, we removed the bottom portion, leaving some Jin:

Using a guy-wire, we pulled the left branch even closer to the trunk. Eventually it may be removed to make the negative space to the left a little more dramatic as the tree is tilted to the right.
Next, the lowest right branch was pulled in and down. To pull it in, I removed some of the dead wood:

Wrapped it in Parafilm, raffia, then wire:


And guy-wired:

Then, we tackled the back branch. It will eventually be removed too, but for now, some of the foliage is being used to fill in some space above the first right branch, and toward the back. Two younger branches growing from the trunk are being developed to fill in those two areas. It was reduced, and converted to Jin:
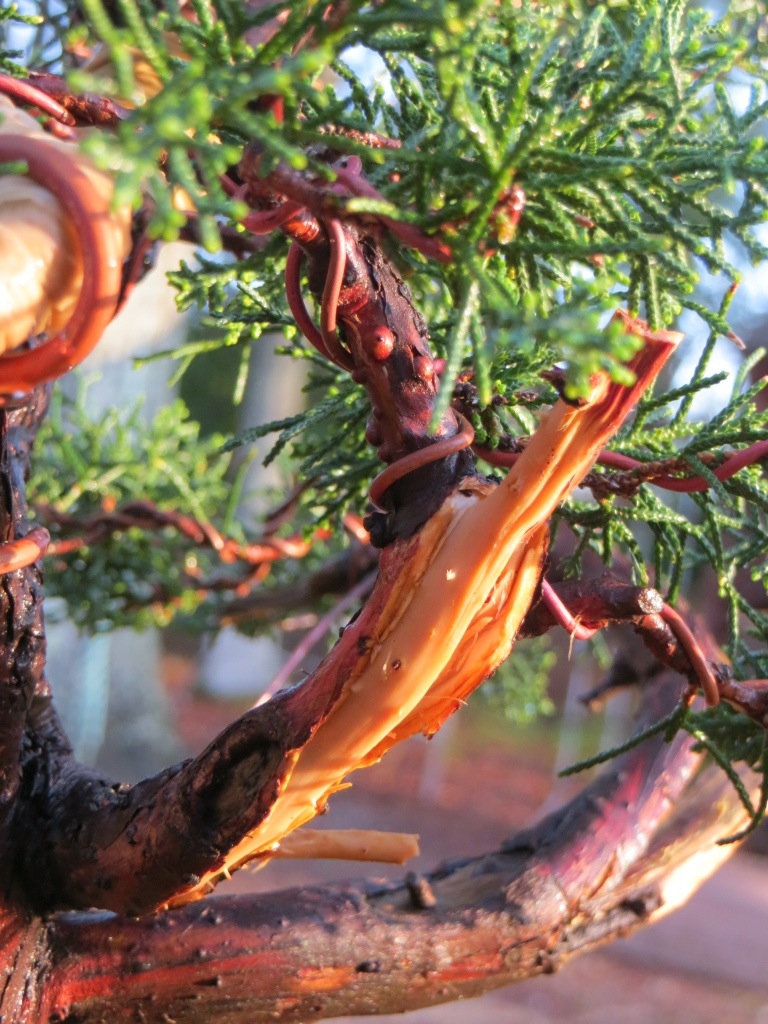
Next was the apex. The apex is left of the base, so the tree looks unbalanced. Two years ago, I split the trunk to begin moving the apex right. This year I split it a little more to move it further right and to compact it. I used a bamboo stick to wedge it open, and wrapped raffia around the trunk to stop it from splitting too far. Tilting the tree to the right will help, but that will come in the next repotting.

Then, to further compress the apex, we wrapped it with raffia, wired, bent, and guy-wired. In total, the tree wast reduced nearly 2″ in height!
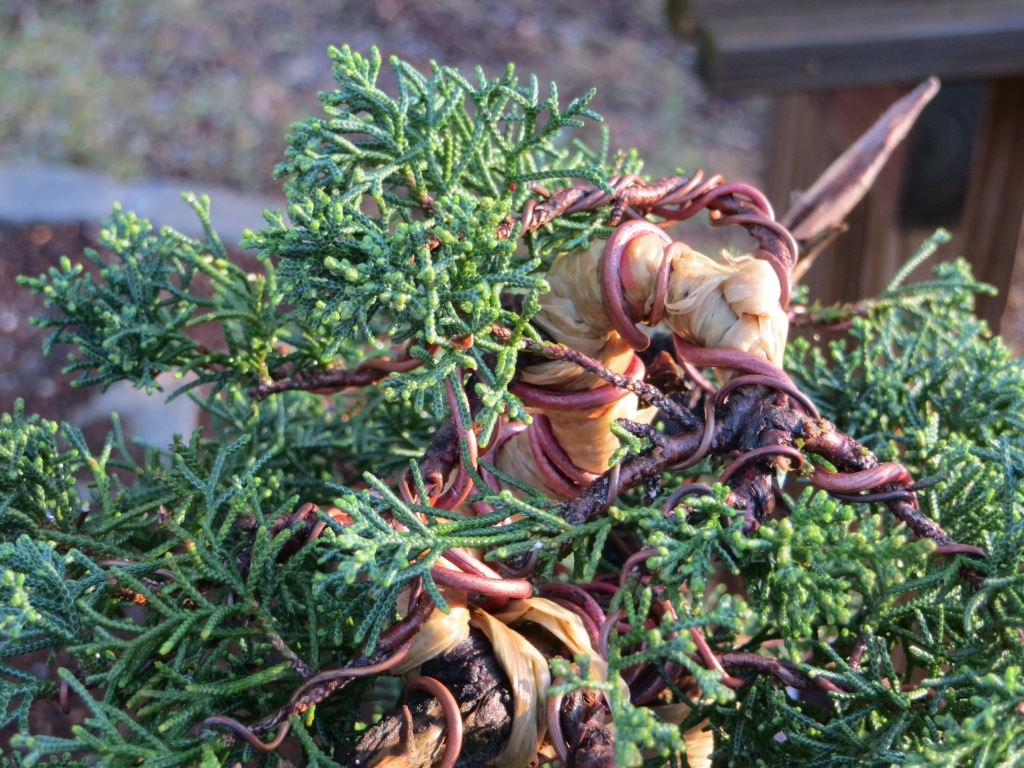
Finally, the remaining branches were wired out, thinned, and foliage was removed form the bottoms of each pad.

So, looking at the tree for a few days, I decided the tree would be much more dramatic without the lowest left branch. So, off it came:

Next steps? Grow out the two branches emerging from the trunk, just under the raffia wrap. Keep the “crotches” and undersides of branches clean. Repot next year, adjusting the planting angle and moving to a smaller pot.

I agree with your decision to remove the lower left branch. It looked a little heavy and now it looks well balanced especially once you repot at the new angle. Awesome tree!
As always, your sequencing of pics. and explanations are outstanding. You changed a “nice” classical looking juniper into “dynamic” classical yet more contemporary looking juniper.
Nice progression so far Brian. I too like the l. lower branch removed. Why not have a small jin there? Just curious to your reasoning.
Thanks guys. Chris, did leave a small 2″ Jin there, just not visible from that angle.
Yes….Dynamic is a good word for this new image. Not so boring anylonger. That branch was nearly a sub trunk so it loks much more proportioned now. The competing trunk is gone. Nice work.
Reblogged this on Wolf's Birding and Bonsai Blog.