As discussed last week, part of the problem with this white pine is the rotted trunk. It must be addressed by cleaning out the rotted wood, drying it out, and applying a preservative. Here is the rotted section before:

Digging in with dental picks, gouges, and pliers, the rotting wood is removed, back to hard wood, as much as possible:

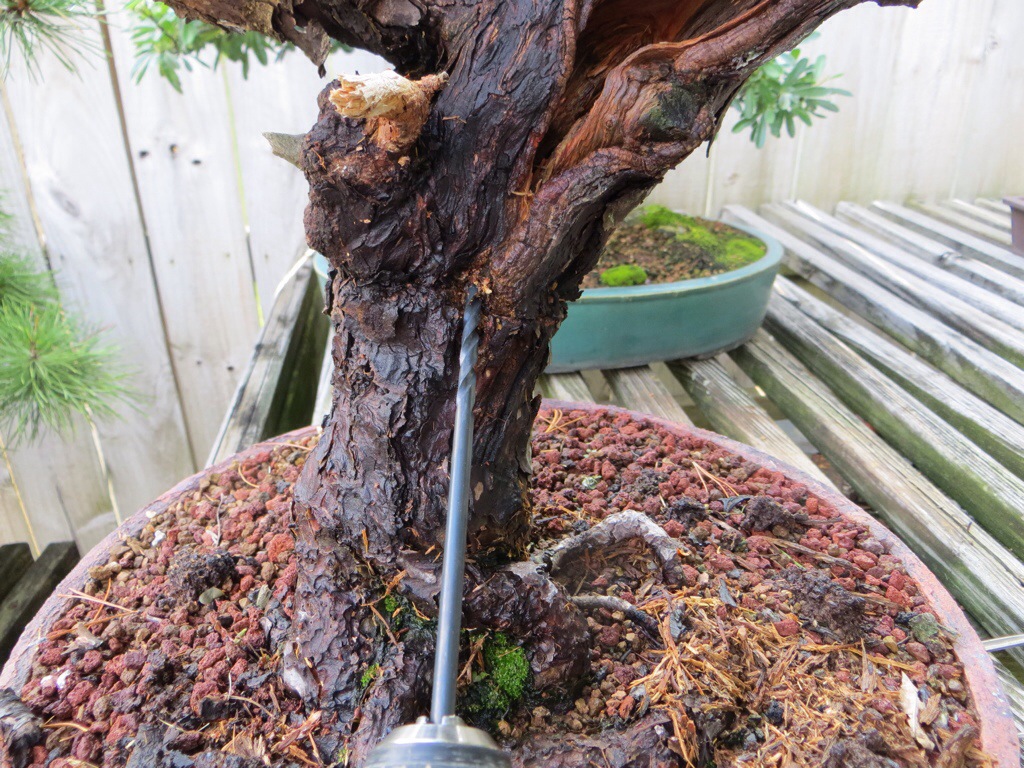
An inconspicuous hole is drilled upward into the hollow to ensure water can drain, rather than pool inside the sabamiki:

Without any real artistic skill, the sabamiki shows beautiful character. It is allowed to dry, then the preserving begins, with lime sulfur, tinted with several concentrations of black ink.

Each species displays unique deadwood traits. JWP tend to have hollows develop, leaving behind a lattice-like scaffolding of former branches. Below is a good example of this tendency. The JWP in this article also shows this lattice-like scaffolding deep inside the trunk. The wood was simply harder than the rotten wood around it, and has persisted. It’s good to study deadwood of different species to gain a good perspective of how it should look.

Next week, we’ll finish up this year’s work with some pruning and wiring.


Hi Brian,
One of the things that (for me) spoils this tree is the lack of taper, especially close to the point where the trunk moves to the left. As there has been dieback close to this region already the possibility of extending the carving to improve taper here may be something to consider when it’s fully back to health? As ever, a great blog – essential reading on a Saturday lunchtime 🙂
Looooooooooooking good!